Guide To Bathroom Renovation

Whether you have an old house with an outdated bathroom or you’re just looking to make some upgrades to modernize your current washroom, you should take the time to plan out your bathroom renovation so you know exactly what you’re getting into. Check out our bathroom renovation guide which includes some common questions and answers and what things you should plan for when it comes to your bathroom remodel.
Determine Your Bathroom Makeover Design
Before remodeling, you should set a plan of action which includes a bathroom design that fits your vision, skill set, and budget. There are a lot of ways you can redesign a bathroom to fit your needs and wants, ranging from a total makeover to just making a few hardware swaps.
At the heart of your design, you should consider the following design elements:
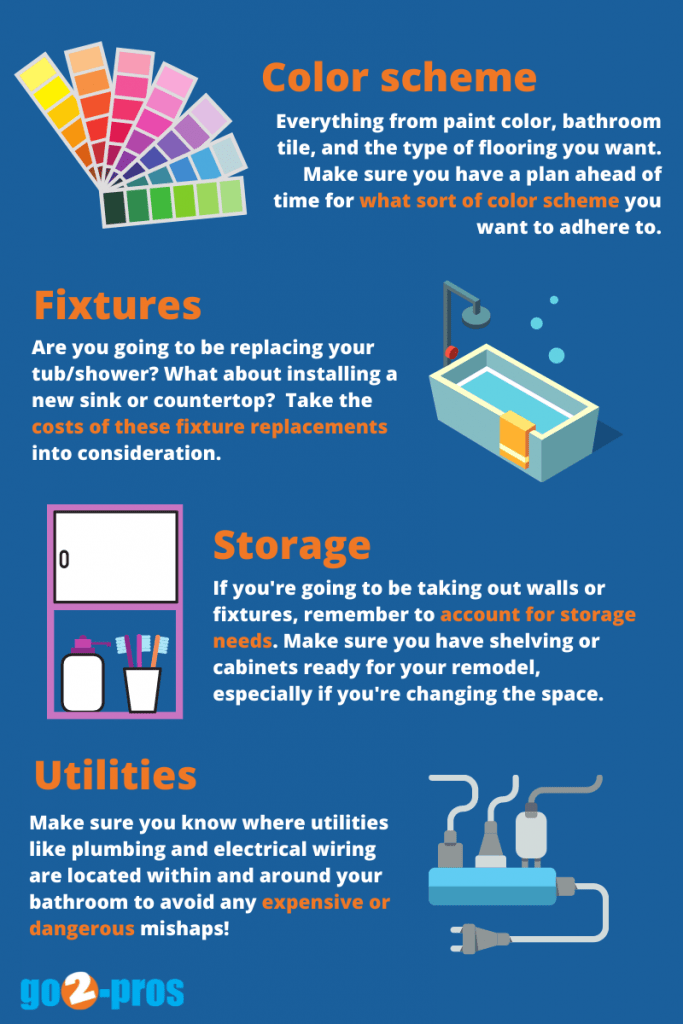
- Color Scheme
- Paint color, bathroom tile, and the type of wood/vinyl flooring you want (are you going with something light like pine or a darker walnut type of wood). All of these things can really make or break the feel of your dream bath.
- Fixtures
- Are you going to be replacing your shower or tub? How about installing a new sink or countertop? If you’re planning on replacing these items, you’ll want to take into consideration what the costs of replacements will be along with any new hardware you may need for them.
- Storage
- If you’re going to be taking out walls to expand your bath or moving fixtures around you’ll want to remember to account for any storage you need in your bathroom. Make sure you have proper shelving or cabinets accounted for if you’re going to be losing storage space due to expansion.
- Utilities
- Make sure you know where utilities like plumbing and electrical wiring are located within and around your bathroom to avoid any expensive or dangerous mishaps.

Gather The Tools & Supplies You Need For Your Bathroom Remodel
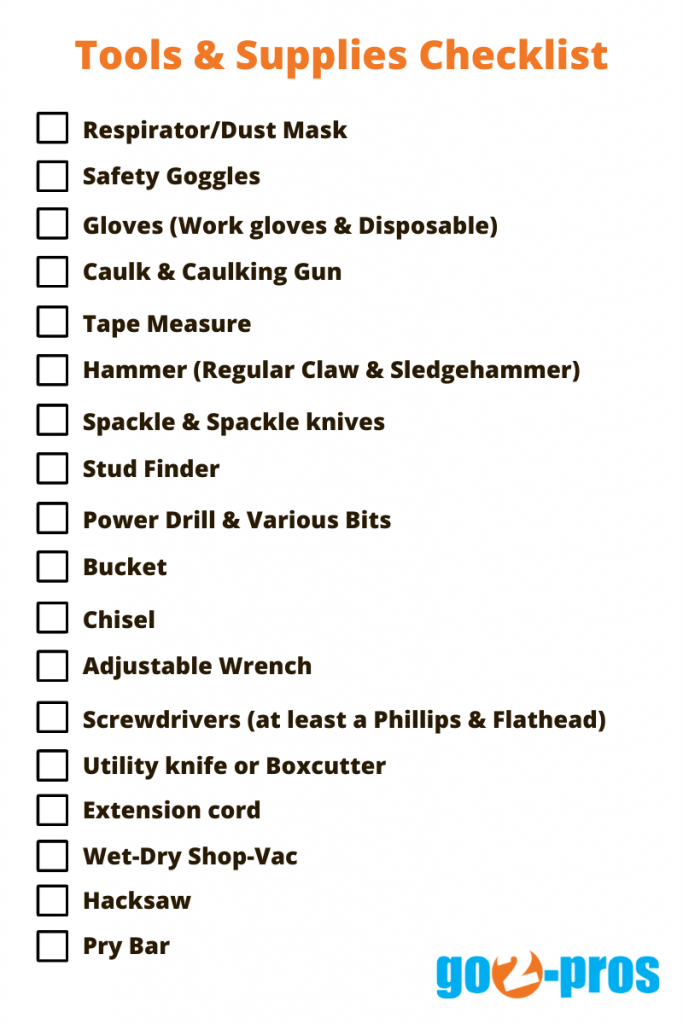
Of course, the exact tools you’ll need for your individual project will vary based on your remodeling plans. Here are a few essentials you’ll likely need for your bathroom renovation:
- Respirator or dust mask (remember to choose the right rating for your job!)
- Safety goggles
- Gloves (work gloves and disposable latex ones)
- Caulk & caulking gun
- Tape Measure (incredibly important for making sure you get the sizes and amounts of products and fixtures)
- Hammer (you may need a regular claw hammer but also a sledgehammer or rubber mallet)
- Spackle & spackle knives
- Stud finder
- Power drill & various bits
- Bucket (for clean-up & other various things)
- Chisel, pry bar, hacksaw (for demolition)
- Adjustable wrench
- Screwdrivers (definitely at least a Phillips and Flathead)
- Utility knife or boxcutter (and extra blades)
- Extension cord (just in case you need extra reach)
- Wet-dry shop-vac (for water spills around the shower, sink, or toilet)

If you’re lacking tools and have a smaller budget, you may be able to rent these or anything else you need for your bathroom remodel from your local home improvement store.
How To Remodel A Bathroom
Step 1: Remove or Demolish Unwanted Bathroom Fixtures
If you’re planning on a total bathroom renovation, you’ll want to start by removing any old or outdated fixtures you’re going to replace. If you’re looking to change the physical layout of your old bathroom, you’ll also want to take this time to remove drywall.
When it comes to gutting your bathroom, here are a few things to remember:
- Drain & remove your toilet to avoid unpleasant smells
- If you’re removing your bathtub and not just opting for a tub cover, make sure to properly remove old tile down to the studs. This step is necessary to refit the plumbing to fit your new shower/tub.
- You may want to rent a dumpster for your demolition so you have a place to dispose of your debris without worry. It’s a small investment compared to having to drive to the landfill every time your trash container fills up, which could help save hours on your project.
Step 2: Install your new shower or tub
After gutting your bathroom, it’s time to install your new tub or shower and other fixtures. When it comes to shower or tub replacement, you’ll usually have 3 choices readily available on the market: rectangular, square, pentangle (a base with one corner cut off).
Your tub/shower shape will likely determine the layout of the rest of your bathroom redesign.
Tip: A walk-in shower conversion is a great space-saving update that can be stylized to fit the look you want given all the options you have for design nowadays. Contact a go2-pros bathroom design expert to view all the options.
Step 3: Install fixtures & features
With the shower or tub installed, you can now move on to the smaller details of your bathroom remodel. If you’re going to do more than install new light fixtures, such as adjusting the wiring, be sure to call in an experienced electrician for this step.
Step 4: Lay down your new floor or tiles
Your bathroom renovation probably won’t be complete without new flooring. Whether you’re doing tiles, vinyl plank, or another type of material be sure to accurately measure out the square footage of your bathroom. Make sure to account for any new footage if you’re planning a total redesign.
A tip for using tile: Before you start with the grout, use a mason’s chalk line to mark reference lines perpendicular (at a 90-degree angle) to the wall with the longest line. This will help keep your tiles in a straight line.
Step 5: Drywall & Painting
Cutting drywall to fit around your new vanity and other new fixtures can be a quite tedious and lengthy process. Once you start nailing up the drywall boards, you’ll notice you should be able to move quickly onto painting in no time!
Some drywall tips and tricks:
- Use drywall tape/mud to cover seams and fill in gaps
- Instead of drywall around your shower/tub, use cement board to protect against water damage
- For further protect the cement board, use a waterproofing membrane (readily available at most home improvement stores)
Once your drywall and cement board are up, now’s the time to start the fun part – painting! Painting is one of the easier tasks and a cost-effective way to spruce things up and put the finishing touch on your new bathroom.
Painting tip: Opt for a paint with a semi-gloss finish that’s resistant to mold and mildew!
Step 6: Add in the upgrades
Now that the electrical, drywall, and painting are taken care of, you can really seal the deal on your bathroom renovation by installing your new vanity, mirrors, cabinets, trim, and whatever else is on your remodel list.
Upgrade tip: You’ll likely want to install your new vanity first (including the sink and faucet). Once your faucet is properly hooked up, you can move on to other essentials without the risk of damaging them if there happen to be any unexpected leaks!
Step 7: Finish up the rest of the plumbing
At this point your bathroom should hopefully be looking like an actual bathroom. You may have removed the toilet and at this point, now’s the time to install your new one or reinstall the old one you may have moved to add in your new flooring. Use this step to make sure any other plumbing needs are taken care of.
And lastly…
Add the final touches to your bathroom renovation!
Be it trim, mirrors, or just decor, now’s the time to add the finishing touches to your bathroom remodel. Of course, the last real step is to take a nice, long hot shower or bath to unwind and reward yourself for all the hard work you’ve put into your bathroom redo. You definitely deserve it.
Are all or some of these steps a little too much work?
If you’re feeling overwhelmed by all that goes into a bathroom renovation or, frankly, just don’t have the time or patience to renovate your bathroom by yourself, don’t hesitate to give Go2Pros a call!
Our bathroom design experts can help you with part of your project or we can help with the entire renovation! Speak with a member of our design team to learn more about what options are right for your home needs and budget. We have hundreds of design options to choose from!
